Typical Resin Driveway Installation Timeline
The exact timeline depends on the size of the driveway, the amount of preparation needed, the weather, and the complexity of the design. However, the table below gives a general idea of what homeowners can expect.
Stage | What Happens | Typical Timing |
Site arrival and checks | Access, weather, base, and layout are reviewed | Morning |
Surface preparation | Cleaning, clearing, and final base checks | Morning |
Edging and details | Borders, drains, steps, and transitions are checked | Morning to midday |
Mixing | Resin and aggregate are mixed in correct ratios | During installation |
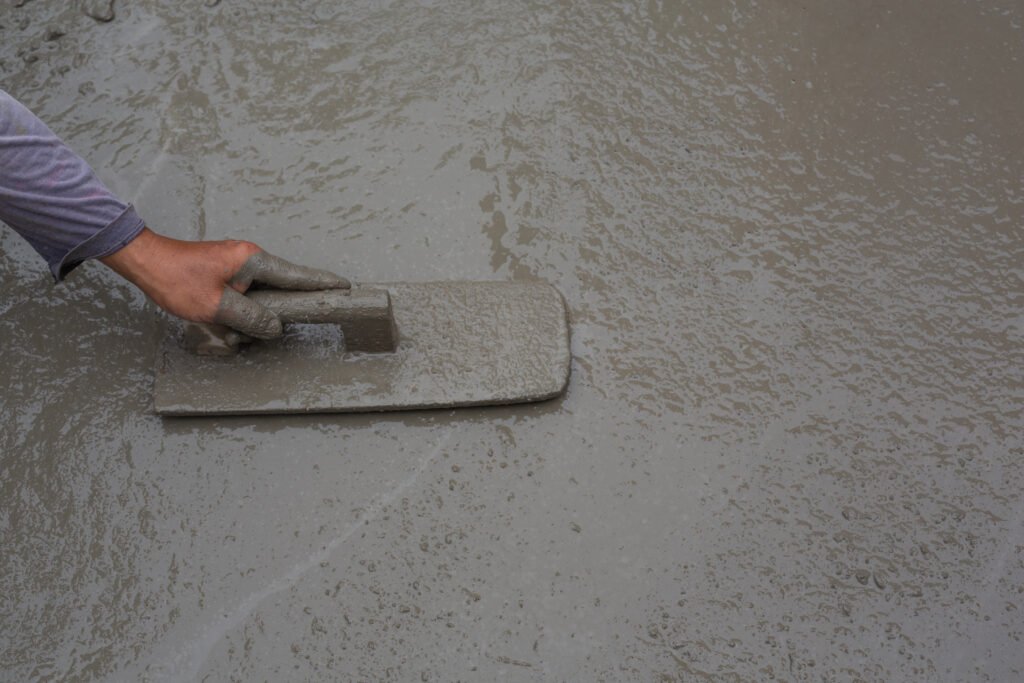
Laying | Resin bound surface is spread, levelled, and compacted | Main part of the day |
Finishing | Edges, corners, and surface finish are completed | Afternoon |
Curing | Driveway is left untouched to harden | 24–48 hours generally |
For smaller and straightforward driveways, installation may often be completed in one day once preparation is ready. Larger or more complex projects may take longer, especially if groundwork is involved.
When Can You Walk or Drive on the New Resin Driveway?
Once the driveway is finished, it needs time to cure. Homeowners should not walk or drive on it immediately, even if it looks finished.
As a general guide, many resin driveways can be walked on after around 24 hours and driven on after around 48 hours. However, this can vary depending on the weather, temperature, and specific resin system used.
Cooler or damp conditions may slow curing, while warmer conditions may speed it up. The installer should give clear guidance before leaving the site.
It is important to follow this advice. Using the driveway too early can mark the surface or affect the final finish. Waiting the correct amount of time is a small step that protects the driveway for the long term.
What Homeowners Should Do on Installation Day
Homeowners do not need to manage the installation, but there are a few simple things that help the day run smoothly.
Before the team arrives, vehicles should be moved away from the driveway. Access should be clear, and any items such as bins, plant pots, garden furniture, or decorations should be removed from the work area.
It is also useful to make sure pets and children are kept away from the installation area. Resin installation involves tools, materials, and wet surfaces, so the driveway should be treated as a work zone until the team confirms it is safe.
If you need access to the house during the work, speak with the installer beforehand. They can usually explain the safest route and when certain areas will be unavailable.
A little preparation before the team arrives helps avoid delays and keeps the installation organised.
What Can Delay a Resin Driveway Installation?
The most common delay is weather. Rain, damp surfaces, frost, or unsuitable temperatures can all affect whether resin can be laid properly. In Ireland, this is part of the reality of outdoor work.
Other delays can happen if the existing base is worse than expected, if drainage issues are found, or if access to the site is restricted. This is why a proper site visit before installation is so important.
A delay is not always a bad thing. If conditions are not right, postponing the installation can protect the quality of the finished driveway. A good installer should be honest about this and explain the reason clearly.
It is always better to wait for suitable conditions than to risk a poor result.
Installation Day vs Full Project Timeline
It is useful to separate installation day from the full project timeline. The resin surface may be laid in one day, but the full project can include preparation work before that.
Project Stage | What It Includes |
Initial enquiry | Discussing the driveway, location, and basic requirements |
Site visit | Measuring, checking base condition, drainage, and access |
Quote and planning | Confirming scope, colour, edging, and preparation |
Ground preparation | Excavation, base repair, edging, or drainage if needed |
Resin installation day | Mixing, laying, smoothing, and finishing the surface |
Curing period | Waiting before walking or driving on the driveway |
Aftercare | Cleaning and maintaining the surface over time |
This helps homeowners understand that the best results come from planning, not just the work completed on the final day.
Final Thoughts
A resin driveway installation day is a structured process. The team checks the site, prepares the surface, mixes the resin and aggregate, lays the material, finishes the details, and then leaves the driveway to cure.
For homeowners, the most important thing to understand is that a good result depends on preparation and timing. The installation should not be rushed, especially if the weather or base conditions are not suitable.
When the work is planned properly and carried out by an experienced team, the result is a smooth, attractive, low-maintenance driveway that is built to perform in Irish conditions.
 Skip to content