Become an AMP Member! LEARN MORE

Blog

What Happens on Installation Day? A Step-by-Step Resin Driveway Timeline

August 11, 2026

Getting a new resin driveway installed is exciting, but many homeowners are not fully sure what actually happens on the day. You may know the colour you want and the area being covered, but the installation process itself can still feel a bit unclear.

A resin driveway is not just rolled out like carpet. It involves preparation, checking the base, mixing materials, laying the surface, finishing edges, and allowing proper curing time. Every stage matters because the quality of the installation affects how the driveway looks, drains, and performs over the years.

In this guide, we walk through a simple step-by-step resin driveway timeline so you know what to expect before, during, and after installation day.

Before Installation Day: The Site Should Already Be Assessed

A proper resin driveway project should not begin for the first time on installation day. Before the team arrives to lay the resin, the site should already have been assessed, measured, and planned.

This usually includes checking the existing driveway surface, confirming whether the base is suitable, identifying drainage needs, discussing edging, and choosing the resin colour. If the existing base is poor, damaged, loose, or uneven, preparation work may need to happen before the resin surface can be installed.

This is especially important in Ireland because rain and ground conditions can quickly expose weak preparation. A resin driveway needs a stable base underneath it. If the base is not right, the finished surface may not perform properly, no matter how good it looks on day one.

By the time installation day arrives, the homeowner should already understand what work is being carried out, what areas are included, and how long the driveway needs before it can be used again.

Step 1: Arrival, Final Checks, and Weather Review

On the morning of installation, the team will usually begin by checking the site again. This includes confirming access, reviewing the area to be covered, and making sure the base is clean, stable, and ready for installation.

Weather is also checked carefully. Resin driveway installation needs suitable conditions, especially when it comes to rain and surface moisture. If heavy rain is forecast or the base is too damp, the work may need to be delayed. This can be frustrating, but it is often the right decision.

A good installer will not rush resin onto a wet or unsuitable surface just to keep to a schedule. The finish and long-term performance are more important than forcing the job through bad conditions.

At this stage, the team may also confirm where materials will be placed, where mixing will happen, and how access to the home will be managed while the work is ongoing.

Step 2: Cleaning and Preparing the Surface

Before resin is laid, the surface needs to be properly cleaned and prepared. Dust, dirt, loose material, moss, weeds, oil, and debris can all affect how well the resin bonds to the base.

If the driveway is being installed over an existing tarmac or concrete base, the team will make sure the surface is sound and clean. Any weak areas should already have been dealt with before this stage. If the base requires more serious correction, that should be part of the earlier preparation work rather than ignored on installation day.

Surface preparation may not look as dramatic as the final resin layer, but it is one of the most important parts of the process. A clean and stable base gives the resin the best chance of bonding correctly and curing evenly.

For homeowners, this stage is a good sign that the installer is taking the job seriously. Proper preparation is never wasted time.

Step 3: Edging and Detail Areas Are Checked

Edging plays a big role in the final appearance and stability of a resin driveway. Before the surface is installed, the team will check the borders, edges, manhole covers, drainage channels, steps, walls, kerbs, and any transitions into paths or garages.

These details matter because resin needs clean boundaries. Strong edging helps hold the surface in place and prevents weak edges from forming over time. It also gives the driveway a neater finish.

If the driveway has curves, borders, or different sections, these areas need to be planned carefully before the resin mix is prepared. Once mixing starts, the team works within a limited time window, so there is little room for uncertainty.

A well-finished resin driveway is often judged by its details. Clean edges, tidy corners, and smooth transitions make the difference between a basic job and a professional-looking finish.

Step 4: Resin and Aggregate Are Mixed

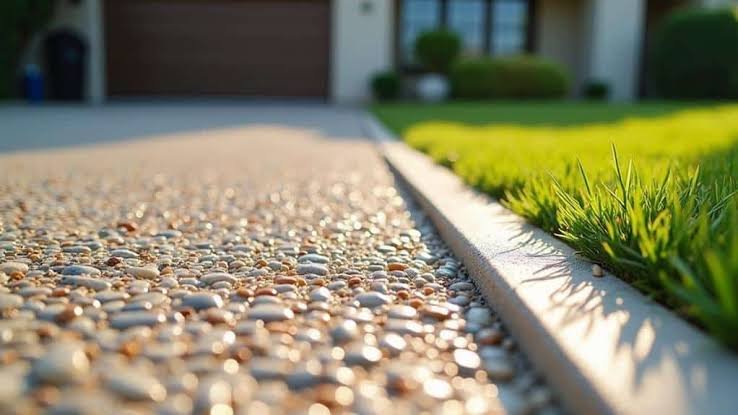
The resin bound surface is created by mixing resin with dried natural aggregate. This must be done carefully using the correct ratio. If the mix is wrong, the finished surface may be weaker, patchy, or inconsistent.

The aggregate must also be suitable for resin bound installation. It should be clean, dry, and properly graded. Moisture in the stone can affect the mix, which is why proper materials and storage are important.

Once the resin and aggregate are mixed, the team has a limited working time before the resin begins to cure. This is one reason professional installation is strongly recommended for driveways. The process requires speed, organisation, and experience.

For homeowners watching the work, this is usually when the project starts to feel real. The chosen colour and texture begin to appear as the mix is prepared and moved into position.

resin aggreate

Step 5: The Resin Surface Is Laid

Once mixed, the resin bound material is laid onto the prepared base. The team spreads it evenly across the driveway and works carefully to achieve the correct depth and finish.

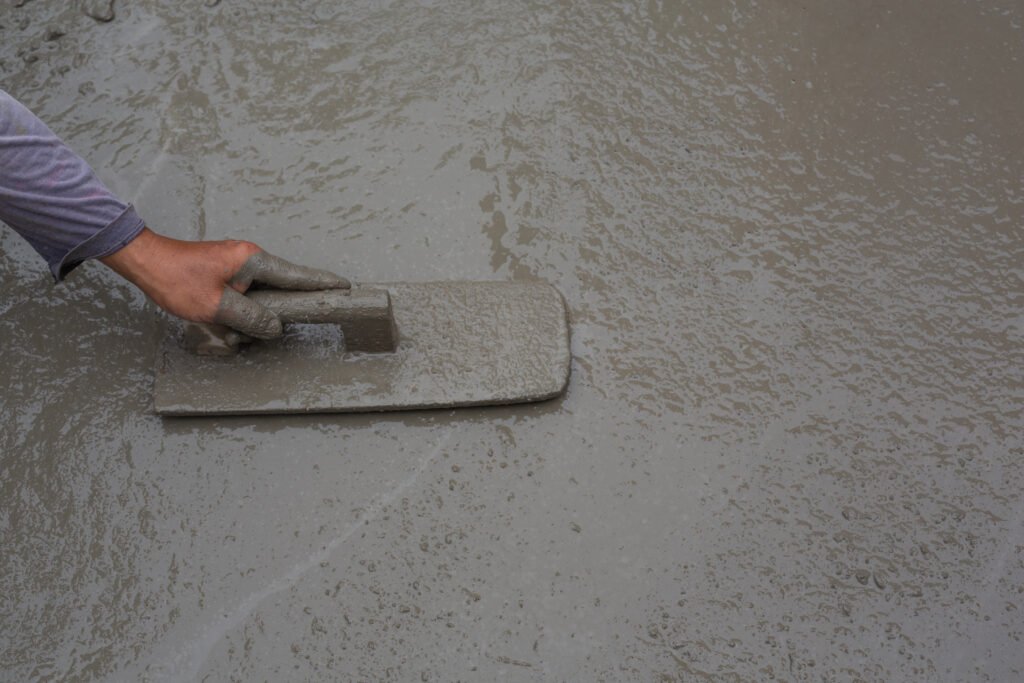
This part of the job requires skill. The surface must be levelled, compacted, and smoothed before the resin begins to cure. If it is not finished properly, the driveway may show ridges, dips, trowel marks, or uneven patches.

The team usually works methodically across the area, section by section. They need to keep a consistent finish while also making sure the material bonds correctly with the base and edges.

This is the stage where experience really matters. Resin installation is time-sensitive, and a trained team will know how to manage the material before it starts setting.

Step 6: Finishing, Smoothing, and Final Detailing

After the resin is laid, the team will focus on the final finish. This includes smoothing the surface, checking edges, cleaning transitions, and making sure the driveway has a consistent appearance.

Any details around drains, walls, kerbs, paths, or entrances are carefully finished. These areas are important because they are often the first places where poor workmanship becomes visible.

The installer should also check that the surface is even and that water movement has been considered. A resin bound driveway is permeable, but the installation still needs to be neat and properly finished.

At this point, the driveway may look complete, but it is not ready for use yet. It still needs time to cure.

Typical Resin Driveway Installation Timeline

The exact timeline depends on the size of the driveway, the amount of preparation needed, the weather, and the complexity of the design. However, the table below gives a general idea of what homeowners can expect.

Stage

What Happens

Typical Timing

Site arrival and checks

Access, weather, base, and layout are reviewed

Morning

Surface preparation

Cleaning, clearing, and final base checks

Morning

Edging and details

Borders, drains, steps, and transitions are checked

Morning to midday

Mixing

Resin and aggregate are mixed in correct ratios

During installation

Laying

Resin bound surface is spread, levelled, and compacted

Main part of the day

Finishing

Edges, corners, and surface finish are completed

Afternoon

Curing

Driveway is left untouched to harden

24–48 hours generally

For smaller and straightforward driveways, installation may often be completed in one day once preparation is ready. Larger or more complex projects may take longer, especially if groundwork is involved.

When Can You Walk or Drive on the New Resin Driveway?

Once the driveway is finished, it needs time to cure. Homeowners should not walk or drive on it immediately, even if it looks finished.

As a general guide, many resin driveways can be walked on after around 24 hours and driven on after around 48 hours. However, this can vary depending on the weather, temperature, and specific resin system used.

Cooler or damp conditions may slow curing, while warmer conditions may speed it up. The installer should give clear guidance before leaving the site.

It is important to follow this advice. Using the driveway too early can mark the surface or affect the final finish. Waiting the correct amount of time is a small step that protects the driveway for the long term.

What Homeowners Should Do on Installation Day

Homeowners do not need to manage the installation, but there are a few simple things that help the day run smoothly.

Before the team arrives, vehicles should be moved away from the driveway. Access should be clear, and any items such as bins, plant pots, garden furniture, or decorations should be removed from the work area.

It is also useful to make sure pets and children are kept away from the installation area. Resin installation involves tools, materials, and wet surfaces, so the driveway should be treated as a work zone until the team confirms it is safe.

If you need access to the house during the work, speak with the installer beforehand. They can usually explain the safest route and when certain areas will be unavailable.

A little preparation before the team arrives helps avoid delays and keeps the installation organised.

What Can Delay a Resin Driveway Installation?

The most common delay is weather. Rain, damp surfaces, frost, or unsuitable temperatures can all affect whether resin can be laid properly. In Ireland, this is part of the reality of outdoor work.

Other delays can happen if the existing base is worse than expected, if drainage issues are found, or if access to the site is restricted. This is why a proper site visit before installation is so important.

A delay is not always a bad thing. If conditions are not right, postponing the installation can protect the quality of the finished driveway. A good installer should be honest about this and explain the reason clearly.

It is always better to wait for suitable conditions than to risk a poor result.

Installation Day vs Full Project Timeline

It is useful to separate installation day from the full project timeline. The resin surface may be laid in one day, but the full project can include preparation work before that.

Project Stage

What It Includes

Initial enquiry

Discussing the driveway, location, and basic requirements

Site visit

Measuring, checking base condition, drainage, and access

Quote and planning

Confirming scope, colour, edging, and preparation

Ground preparation

Excavation, base repair, edging, or drainage if needed

Resin installation day

Mixing, laying, smoothing, and finishing the surface

Curing period

Waiting before walking or driving on the driveway

Aftercare

Cleaning and maintaining the surface over time

This helps homeowners understand that the best results come from planning, not just the work completed on the final day.


Final Thoughts

A resin driveway installation day is a structured process. The team checks the site, prepares the surface, mixes the resin and aggregate, lays the material, finishes the details, and then leaves the driveway to cure.

For homeowners, the most important thing to understand is that a good result depends on preparation and timing. The installation should not be rushed, especially if the weather or base conditions are not suitable.

When the work is planned properly and carried out by an experienced team, the result is a smooth, attractive, low-maintenance driveway that is built to perform in Irish conditions.

Frequently Asked Questions

How long does it take to install a resin driveway?

A straightforward resin driveway can often be installed in one day once the base is ready. However, the full project may take longer if excavation, drainage, edging, or base preparation is needed before the resin surface is laid.

No, resin should not be laid during rain or on a wet base. Moisture can affect bonding, curing, and the final finish. If rain is forecast or the surface is too damp, a professional installer may delay the work to protect the quality of the driveway.

Many resin driveways can usually be walked on after around 24 hours, depending on weather and curing conditions. Your installer should give specific advice based on the temperature, humidity, and resin system used.

In many cases, homeowners can drive on a new resin driveway after around 48 hours. Cooler or damp weather may extend this time. It is important not to drive on the surface too early, as this may mark or damage the finish.

Yes. You should move vehicles, bins, plant pots, and any other items away from the driveway before the team arrives. It is also best to keep pets and children away from the work area until the installer confirms the surface is safe.